How to do a fresh installation of Oracle Database on Linux

Certifications:

In this article we will see step by step how to install Oracle Database 19c on Unix and more specifically on Oracle Linux / Red Hat.
The prerequisites
To begin with we should have a graphical environment either by connecting directly to the machine, or by using a terminal that allows to bring up a graphic like mobaXterm.
To download the files we need to install Oracle Database, click here.
Then we will have to install the required libraries on our operating system. To do this we run the following:
curl -o oracle-database-preinstall-19c-1.0-2.el8.x86_64.rpm https://yum.oracle.com/repo/OracleLinux/OL8/appstream/x86_64/getPackage/oracle-database-preinstall-19c-1.0-2.el8.x86_64.rpm

yum -y localinstall oracle-database-preinstall-19c-1.0-2.el8.x86_64.rpm
Then we need to go to SELINUX setting below and change the value to permissive:
sudo vi /etc/selinux/config


SELINUX=permissive ##αλλάζουμε αυτή τη τιμή
As a next step, stop and disable the firewall:
systemctl stop firewalld
systemctl disable firewalld
If we didn't already have a user on the operating system oracle we should set the password for it:
passwd oracle
Finally, we create the folder that will contain the Oracle binaries and give the Oracle user access to the root folder that will contain them and our data:
mkdir -p /oracle/app/oracle/product/19.3.0/dbhome_1

chown -R oracle:oinstall /oracle
chmod -R 775 /oracle
After finishing the prerequisites, reboot the server.
The installation
When the machine restarts we log in as a user oracle:
su oracleGo to the folder we made before that will be the Oracle binaries and unzip the Oracle Database files we downloaded:
cd /oracle/app/oracle/product/19.3.0/dbhome_1

unzip -oq /home/oracle/Downloads/LINUX.X64_193000_db_home.zip
Before running the setup, because in this particular case the Oracle Linux 8 version is not yet supported, in order not to have a warning message during the installation, we run the following so that it behaves as if it were version 7.6:
export CV_ASSUME_DISTID=OEL7.6Now we are ready to run the setup:
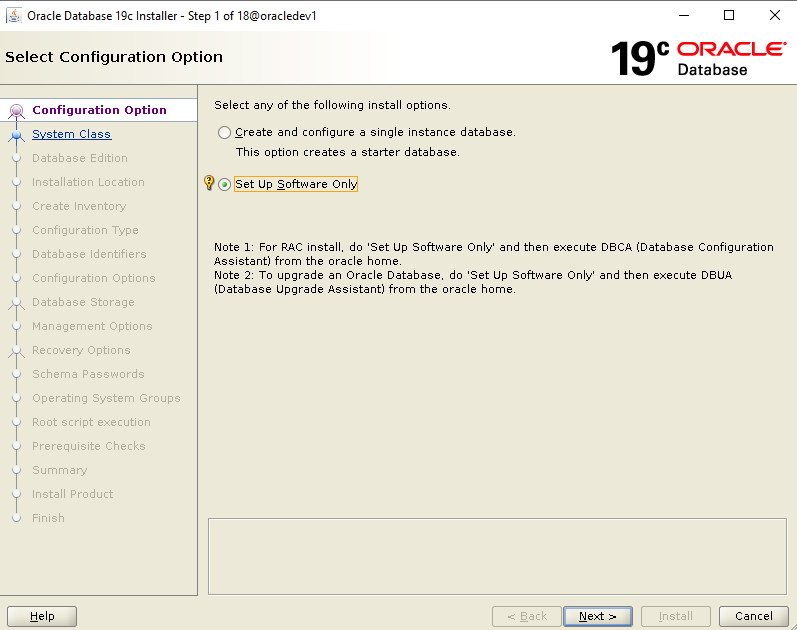
./runInstallerAfter a while the graphical environment will appear, there we will choose to install only the binaries (Set Up Software Only) and we will create a base later:
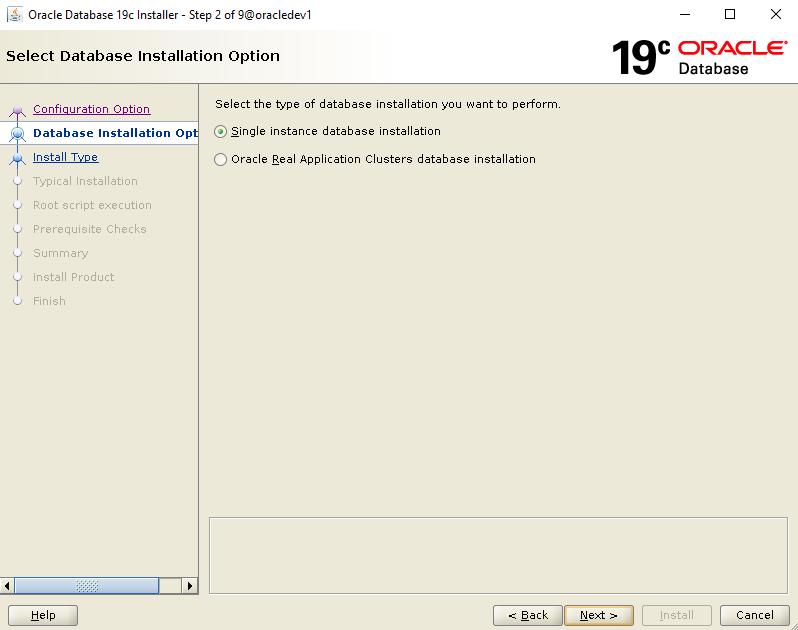
We choose that it will be a Single Instance and not a cluster:
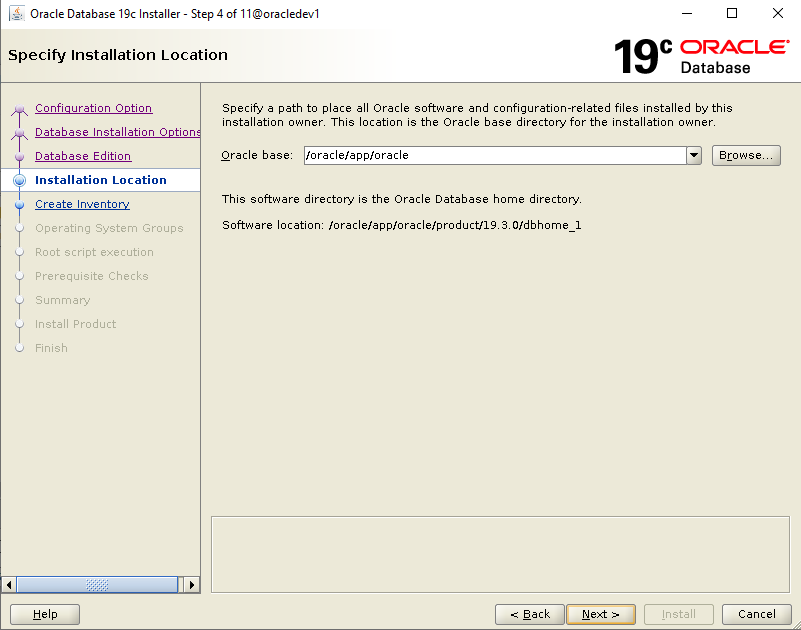
We define the folder above product as Oracle Base:
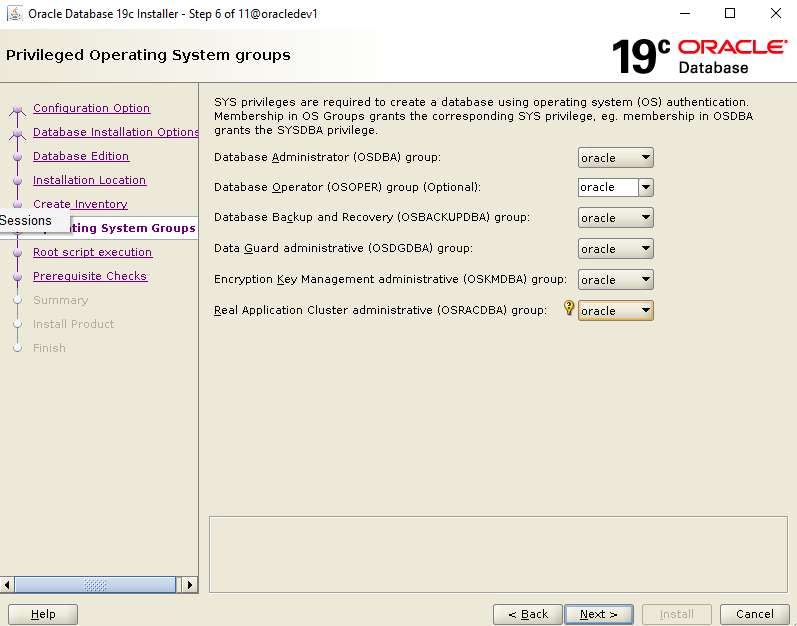
We define the user oracle as the administrator in all groups:
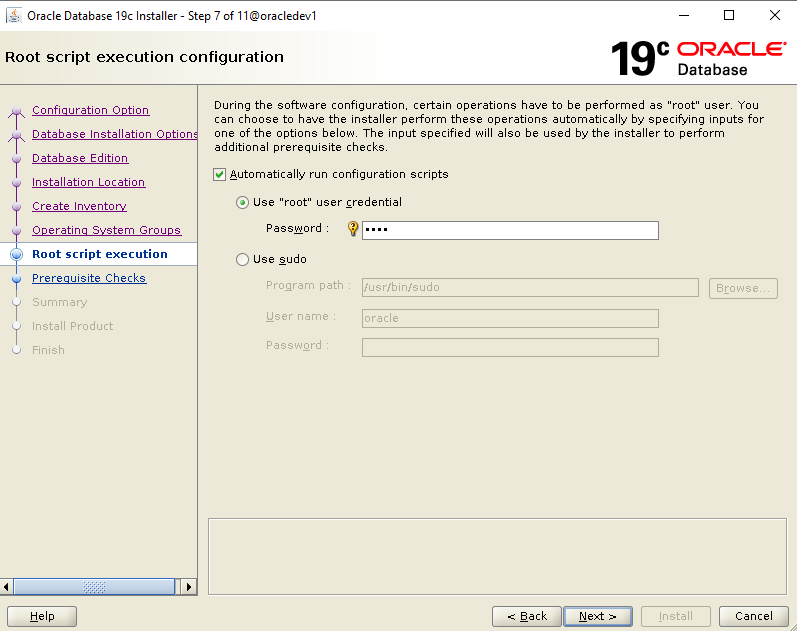
We choose to run the scripts that are needed automatically by selecting the checkbox and adding the password of the root or sudo user:
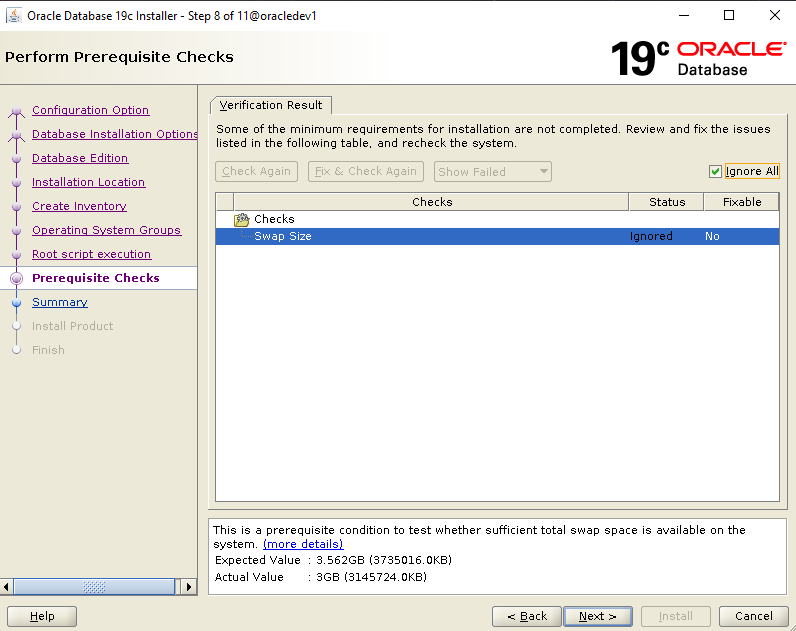
In the next step it will show us that it may be missing, in this particular case I have 500mb less swap memory so I choose to ignore it:
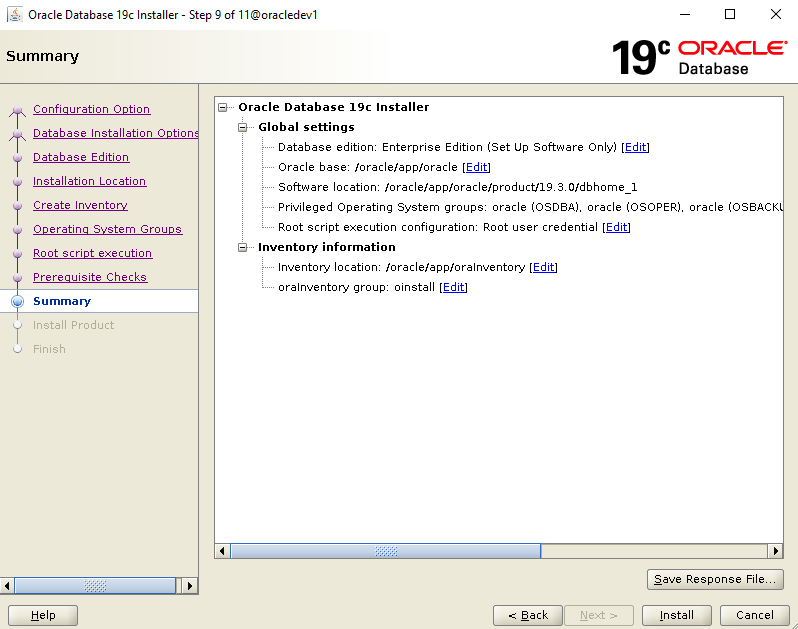
In the last step of the installation we do a quick check that we have set the right parameters:
After the installation is complete, for the user to have oracle the information with its path and environment and not having to go through it again by hand by exporting we can put it in the file bash_profile ή profile.
To do this we go to the user's home directory oracle and edit the corresponding file:
cd $HOME
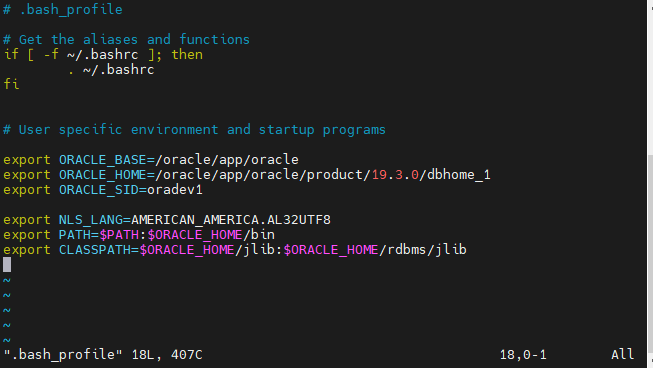
vi .bash_profile
There we add the following entries:
export ORACLE_BASE=/oracle/app/oracle
export ORACLE_HOME=/oracle/app/oracle/product/19.3.0/dbhome_1
export ORACLE_SID=oradev1
export TNS_ADMIN=$ORACLE_HOME/network/admin

export NLS_LANG=AMERICAN_AMERICA.AL32UTF8
export PATH=$PATH:$ORACLE_HOME/bin
export CLASSPATH=$ORACLE_HOME/jlib:$ORACLE_HOME/rdbms/jlib

export LD_LIBRARY_PATH=$ORACLE_HOME/lib:/lib:/usr/lib
As ORACLE_SID we define the name of the instance we will connect to, which we will create in the next steps. It's just an opportunity to define it from now on, don't forget that we can have multiple instances so the one we connect to is defined by this variable:
To get the changes without rebooting, run the following:
source ~/.bash_profileCreating the base
After we finished the installation it's time to build it instance with our base.
So to do this and start the wizard that will guide us, we run the following command as oracle user:
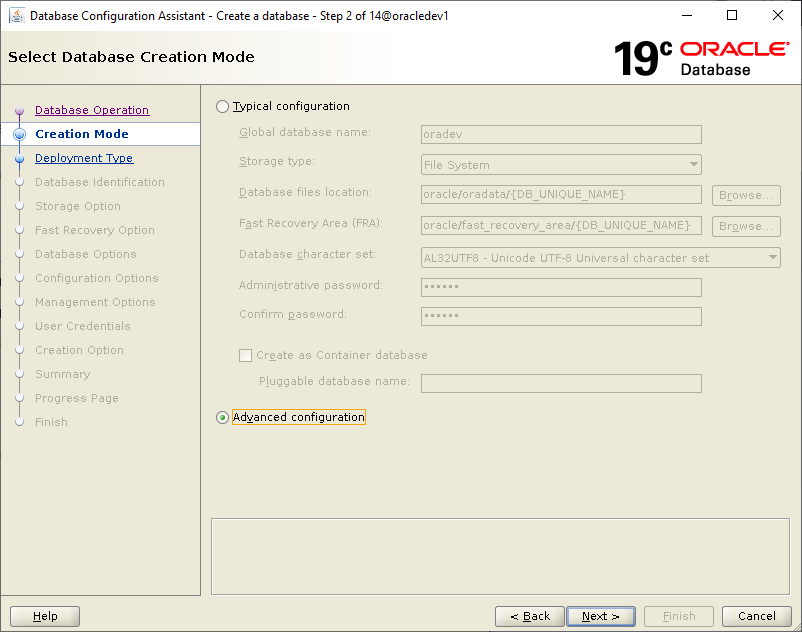
dbcaAfter a while the following wizard will appear. There we choose Advanced configuration:
In the next step we choose Oracle Single Instance database and General Purpose:

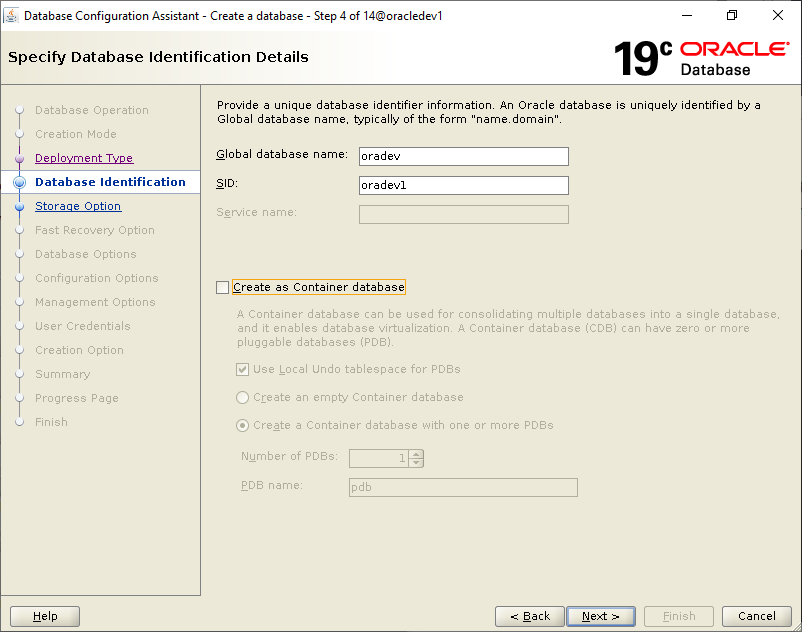
Next we define the base name and name of the instance, in this case oradev and oradev1 respectively. We also remove the checkbox so that it is not created as a container database:
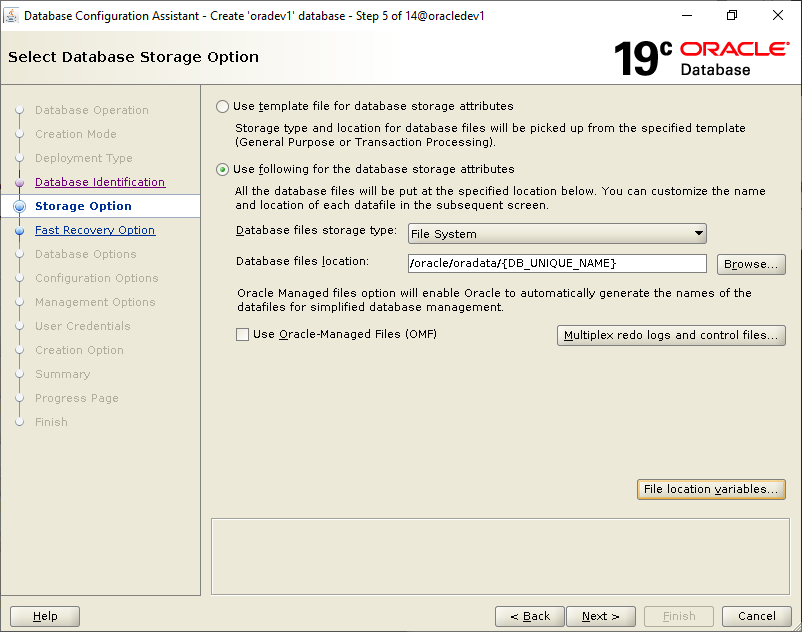
Then we choose where we want the data files to be saved, choosing multiplex redo logs and control files we can have a copy of each redo and control file in a separate location (for each redo log group):
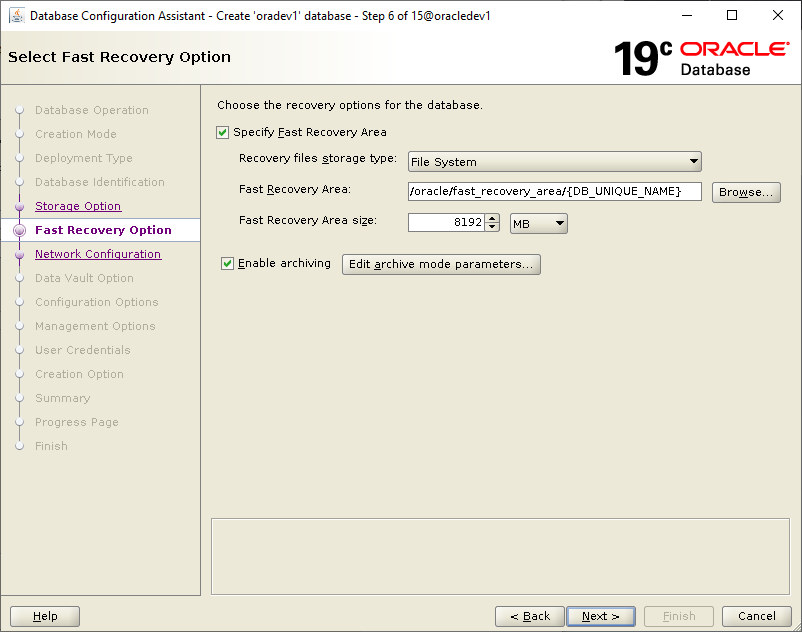
In the next tab we define the path for the Fast Recovery Area and its size as we also enable archiving so that we can have an online backup:
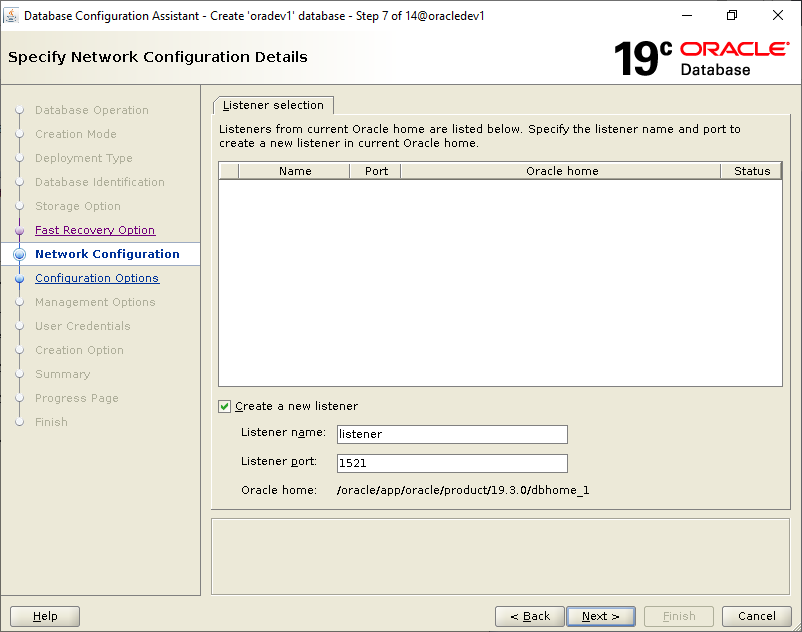
In the next step we choose to create the listener to allow remote access to the base:
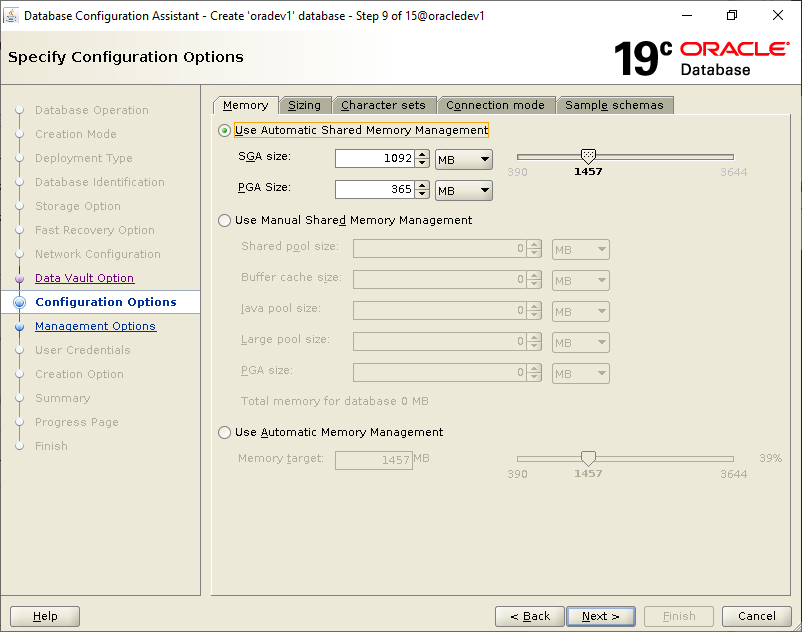
On the next screen we have to define a series of tabs.
In Memory define the memory that will be occupied by the instance, changing the total size of the memory will define a ratio for the SGA and PGA memory (the use of each one is detailed here):
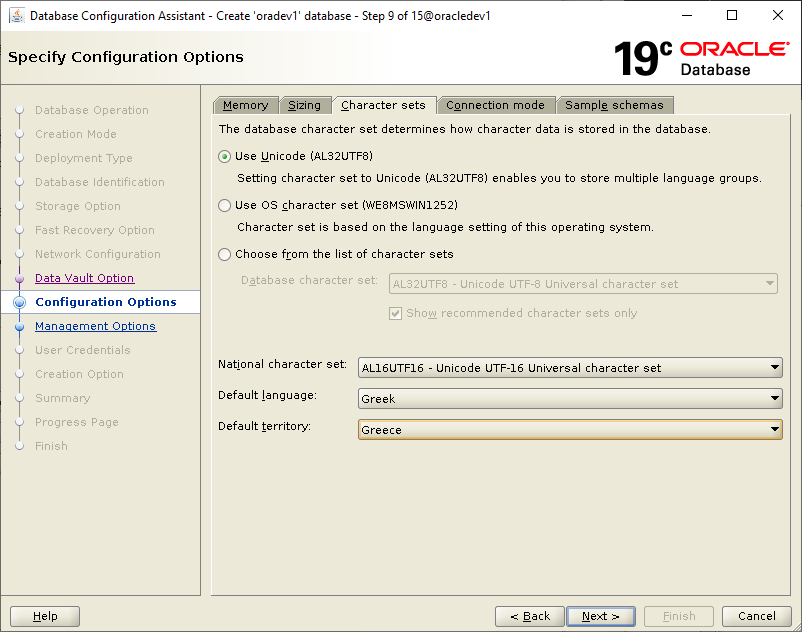
In the Character sets select Unicode, AL16UTF16 and America American (not Greek):
We choose Next and remove the option to set Enterprise Manager for monitoring:

We do a final check that we have set the correct options:
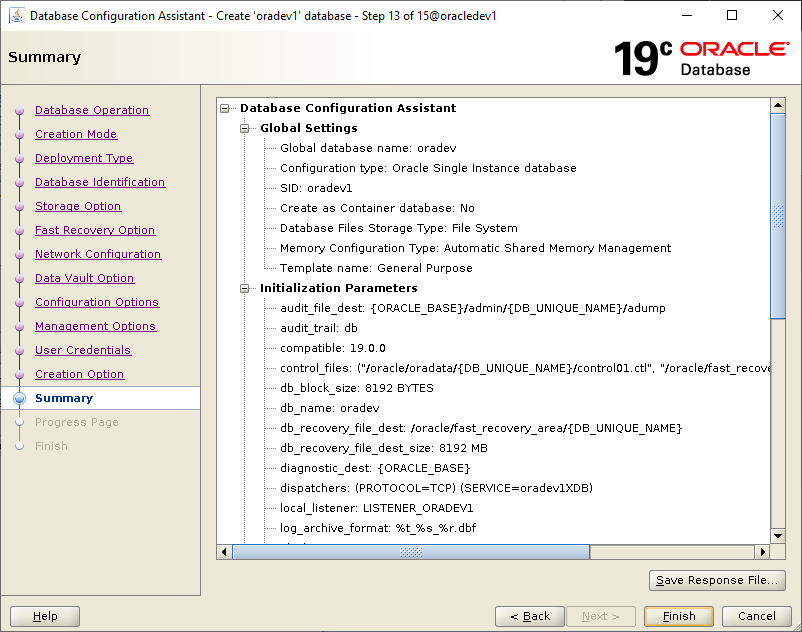
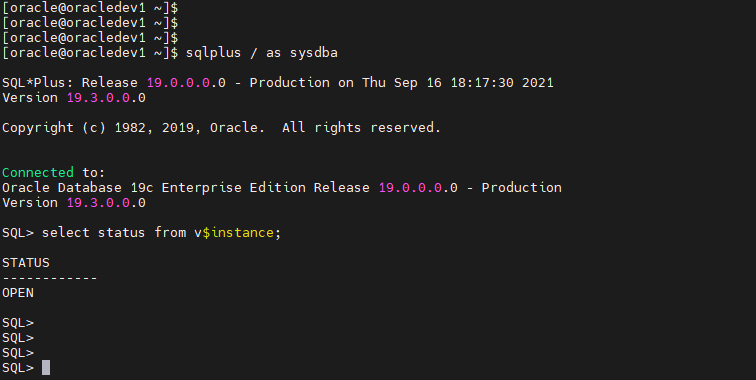
We choose Finish and after a while when the installation is complete we will be able to connect to our database with sqlplus:
sqlplus / as sysdba

select status from v$instance;