How to migrate a SQL Server database to Azure using Data Migration Assistant

- How to convert a database from Physical Standby to Logical Standby in Oracle Data Guard - 2 June 2025
- How to roll back an Oracle Database using a restore point in a Data Guard environment - 28 April 2025
- How can we increase performance on Oracle GoldenGate Replicat target with parallelism? - 19 March 2025
Many times we will need to migrate databases to a newer version or move them to Azure. In such a transfer there is a possibility that some components are not compatible and need corrections before we start the migration.
The tool that provides us with help to find problems that may affect the migration and offers instructions on how to solve them is Data Migration Assistant. It also has the ability to undertake to carry out the offline migration.
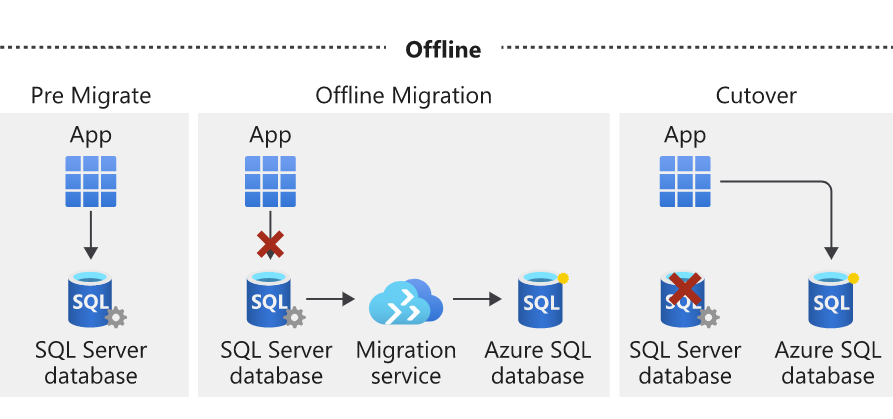
Can we let's download the Data Migration Assistant from here.
In case we migrate to Azure we should be able to access the Azure infrastructure with either one Public Endpoint (Internet), either with ExpressRoute or else with VPN.
*If the size and number of bases is large, its use is recommended Azure Database Migration Service which can also perform online migrations. Detailed information and a migration example are available at this article.
In the rest of the article we will see how to transfer a database from on-premise SQL Server in Azure SQL Database.
An Azure SQL Database should first be created as described in this article.
The example
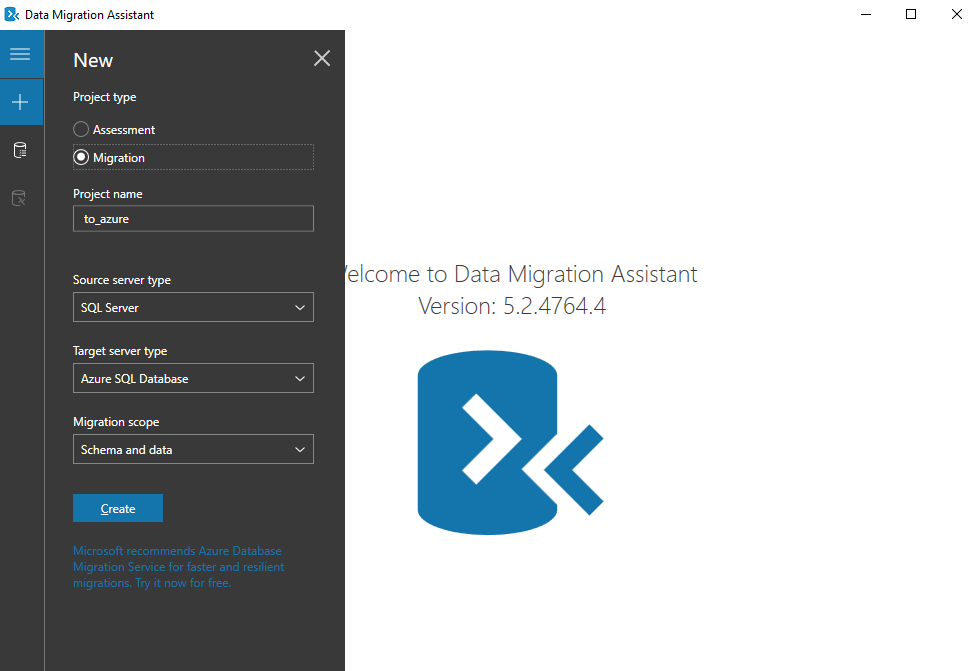
We open it Data Migration Assistant and we choose Migration.
We define a project name, that we want to transfer from Source SQL Server in Target Azure SQL Database and that we want to transfer it too base shape and data.
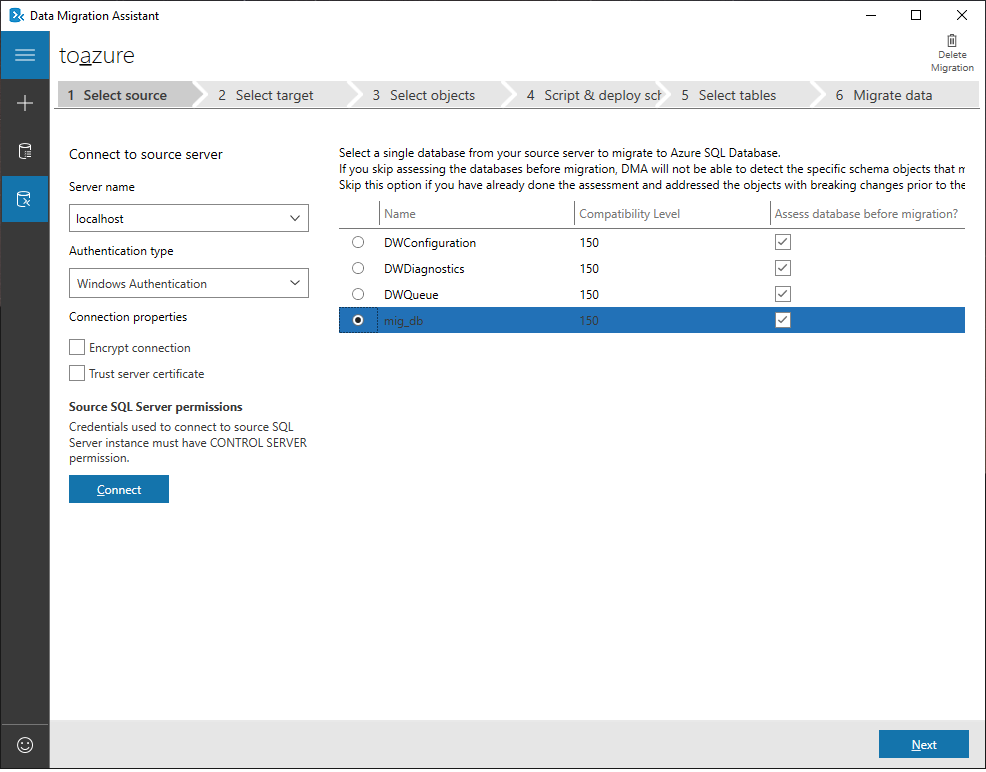
We define him SQL Server which is currently hosting the base. In our case it is the server itself, that's why I put it localhost. Since it is the server itself, it was convenient to use as Authentication type Windows so that he doesn't ask me credentials.
In the next step we put its name in Server name Endpoint (private or public) in my case I had made it public during the creation of the database, so there is access via Internet.
For credentials we can use his server admin which asks Mrwhen creating the Azure SQL Database Server.
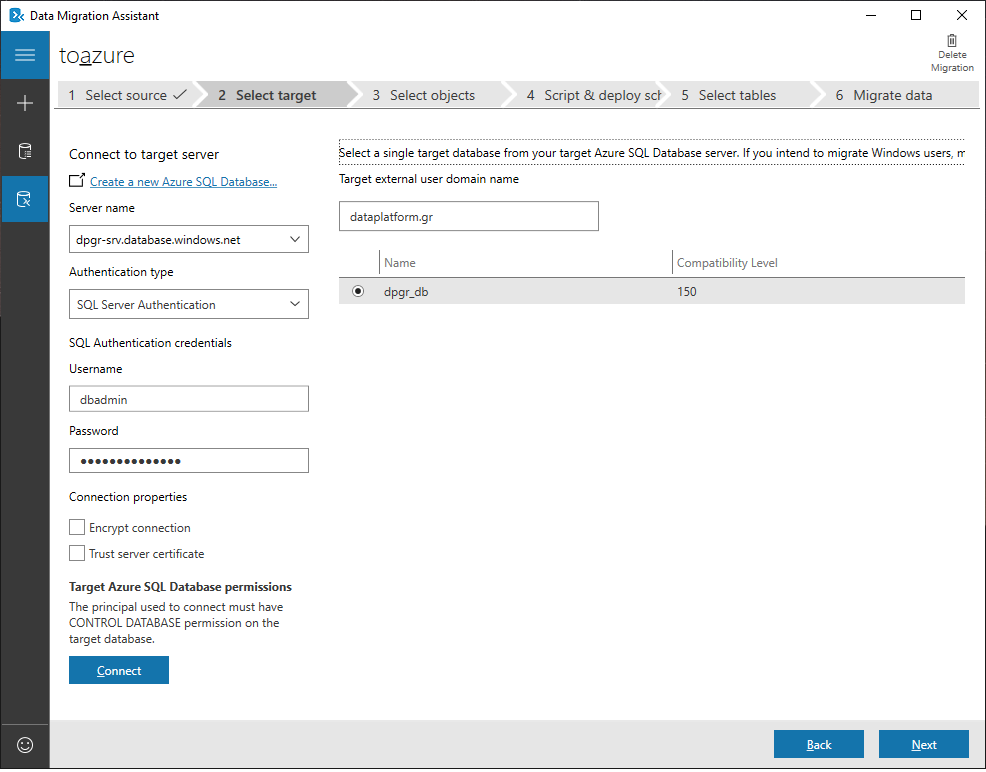
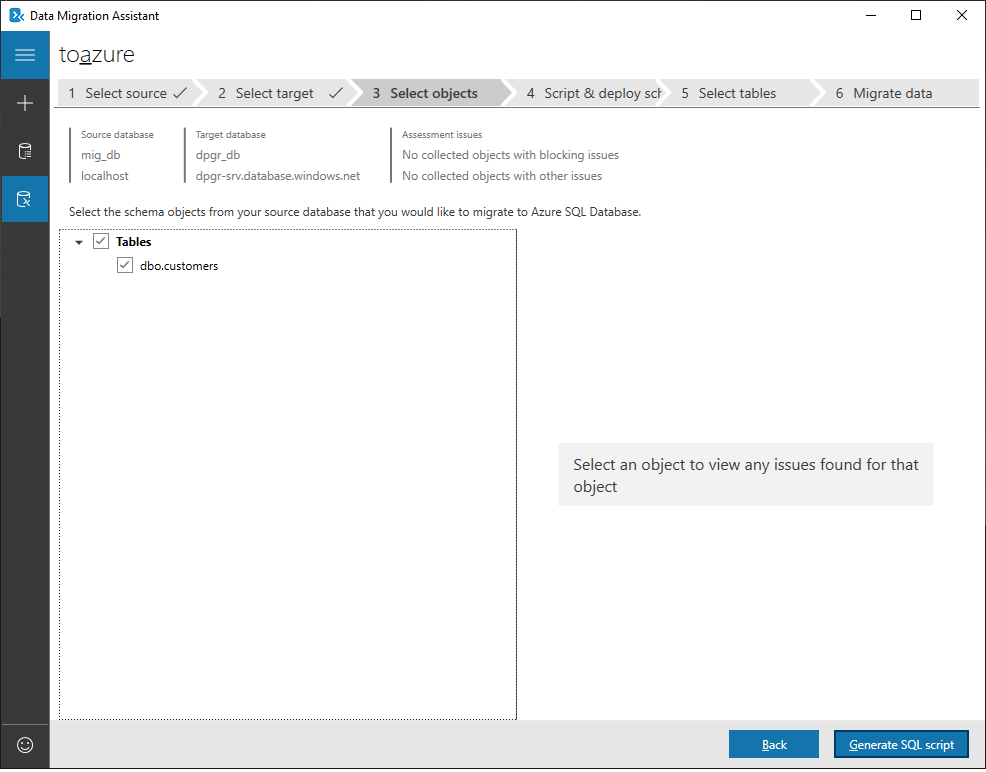
We select the database we want and it will show us all the objects it contains. In our case I had made only one table.
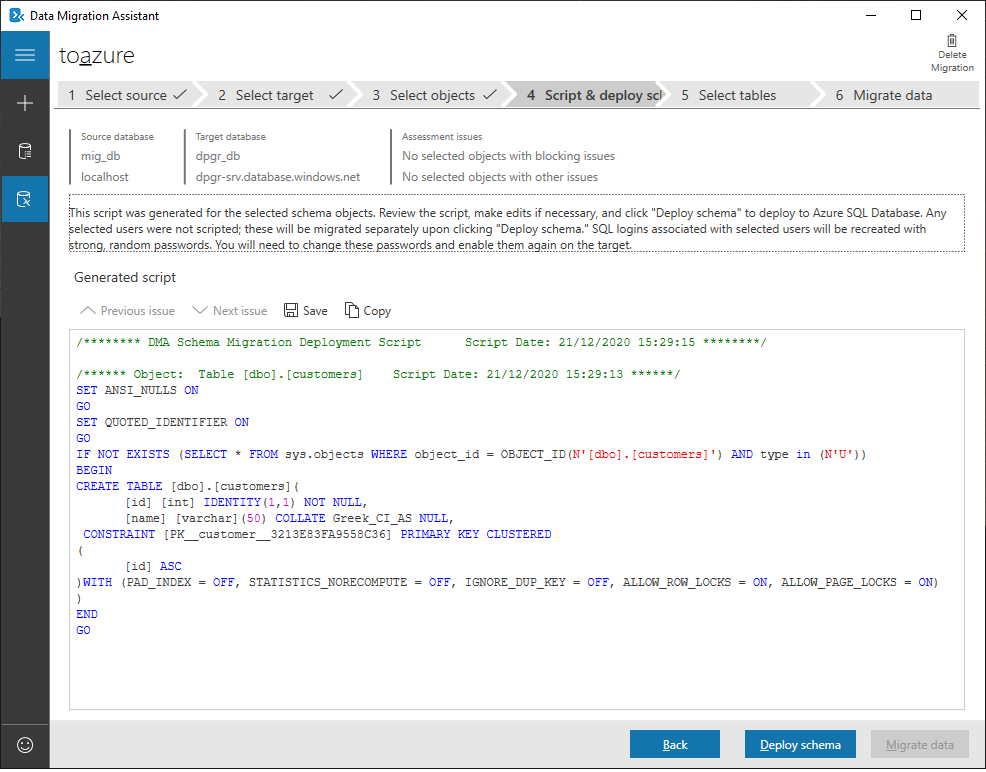
In the next step we will create the TSQL scripts that need to be done deploy in Azure SQL Database to make the same shape.
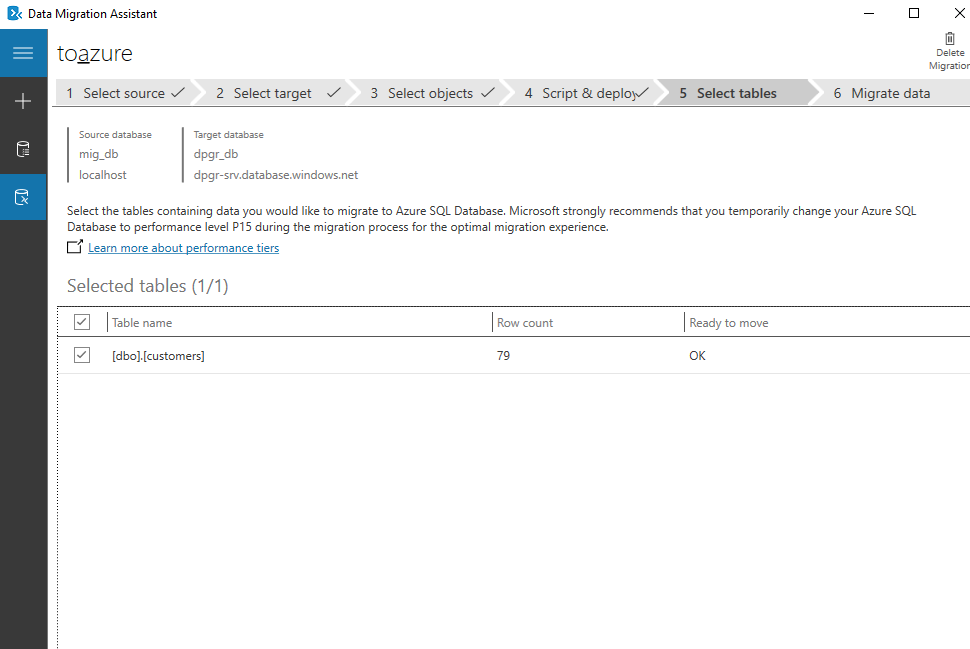
Then we will select the tables that we will transfer their data.
With what we choose migrate will start the process and inform us about the status of the work.
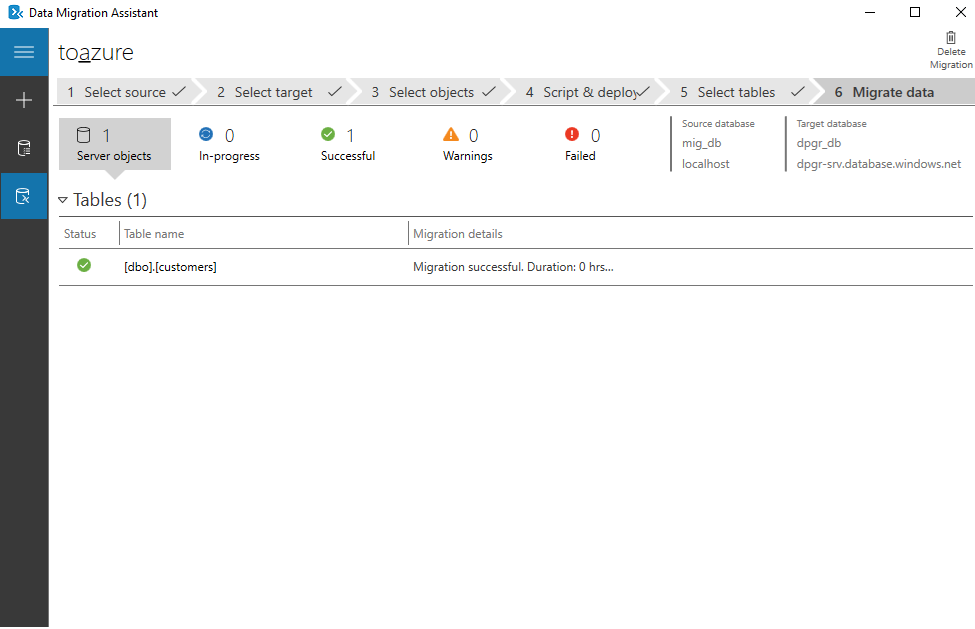
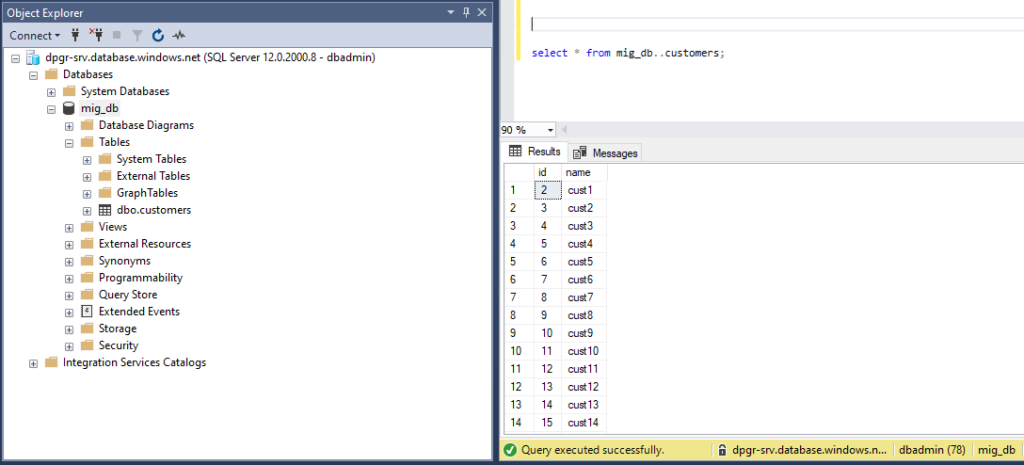
Once the message appears Migration successful. If we connect to Azure SQL Database we will see our base with the shape it had in on-premise SQL Server and the data that her table contained.
