How can we schedule a Job in Azure SQL Database using Logic App
- How to convert a database from Physical Standby to Logical Standby in Oracle Data Guard - 2 June 2025
- How to roll back an Oracle Database using a restore point in a Data Guard environment - 28 April 2025
- How can we increase performance on Oracle GoldenGate Replicat target with parallelism? - 19 March 2025
Let's say that every day we would like to send by email a report from the result of a query in a database. This process in SQL Server is done by using it SQL Server Agent and his Database Mail. At Azure SQL Databases but there is neither.
At Azure SQL Databases however, we can schedule jobs in many ways such as using Azure Data Factory, Elastic Database Jobs and Logic Apps.
After Logic Apps we can create one workflow (workflow) being done trigger from an event or schedule.
In the article we will see an example using Logic App. We will create a task that every day will save the results of a query in a CSV and send it with Gmail (via API).
The example
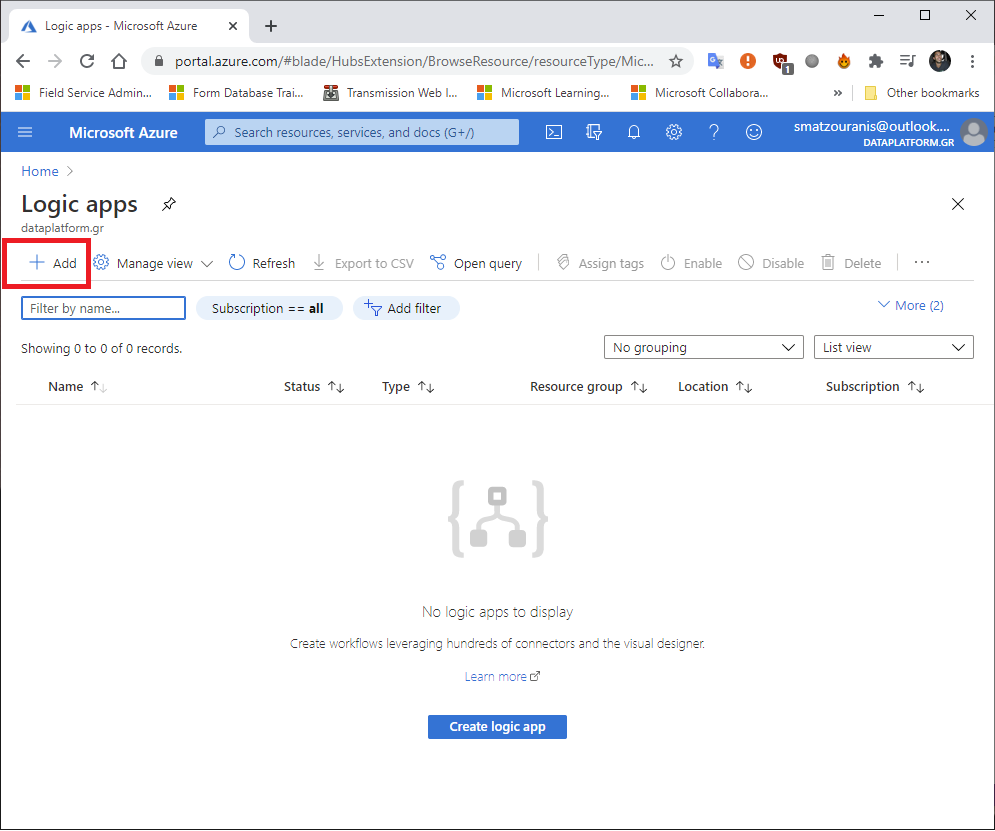
To begin with, we connect to Azure Portal and we are looking for the Logic apps service.
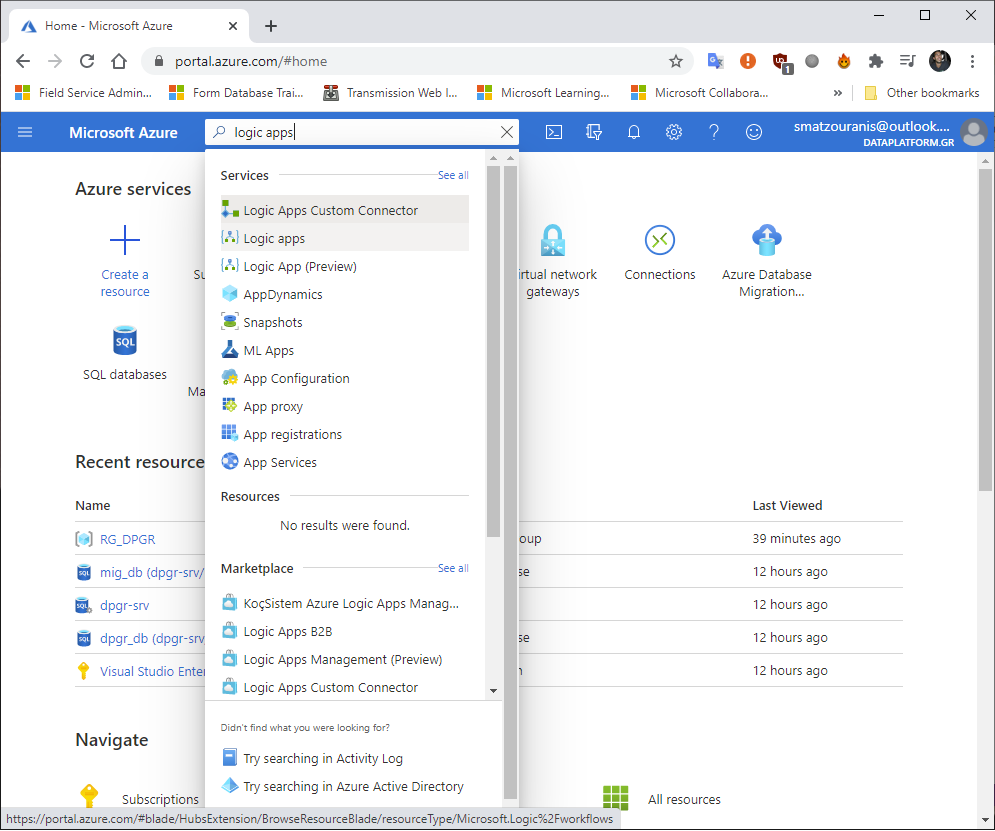
We choose Add.
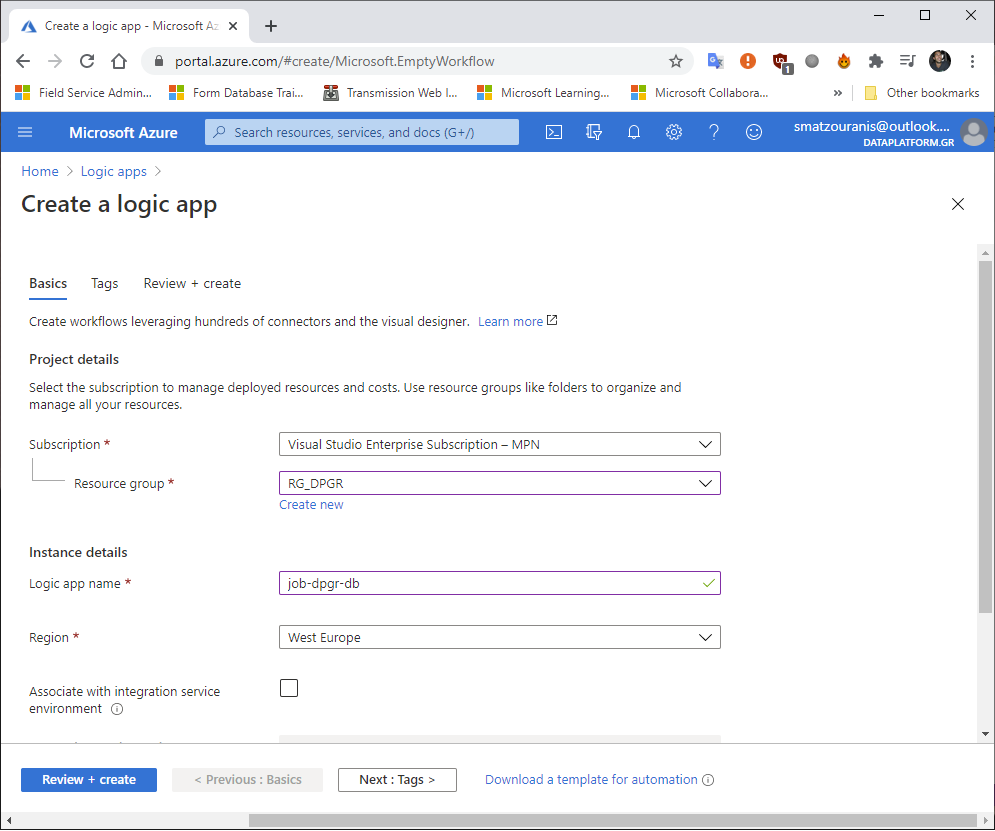
Then we select it Resource Group which will belong, his name Logic App and Region.
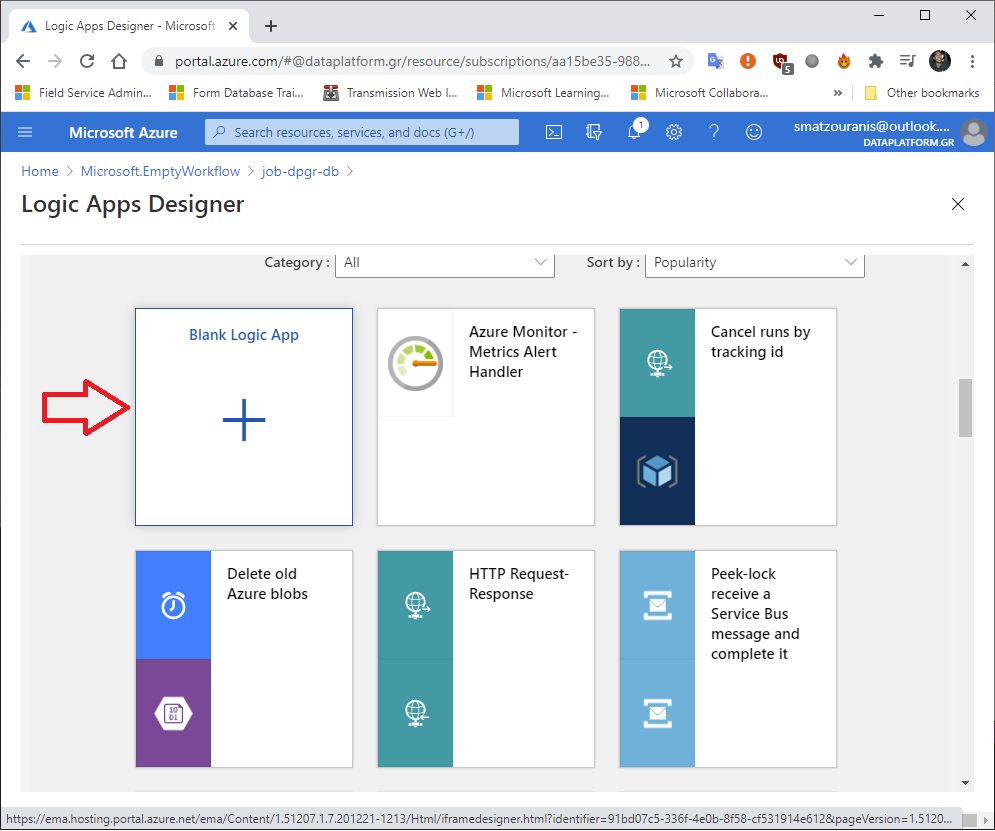
After it is created, we look for the option a little further down Blank Logic App.
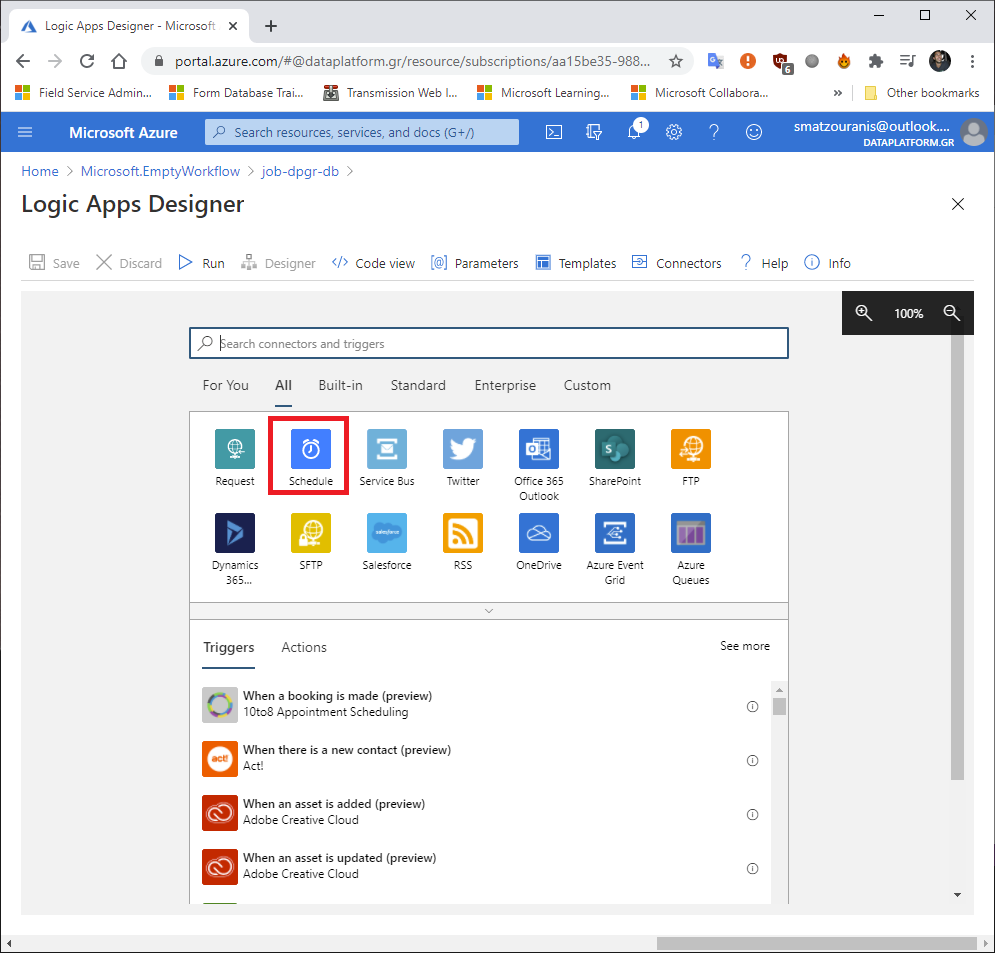
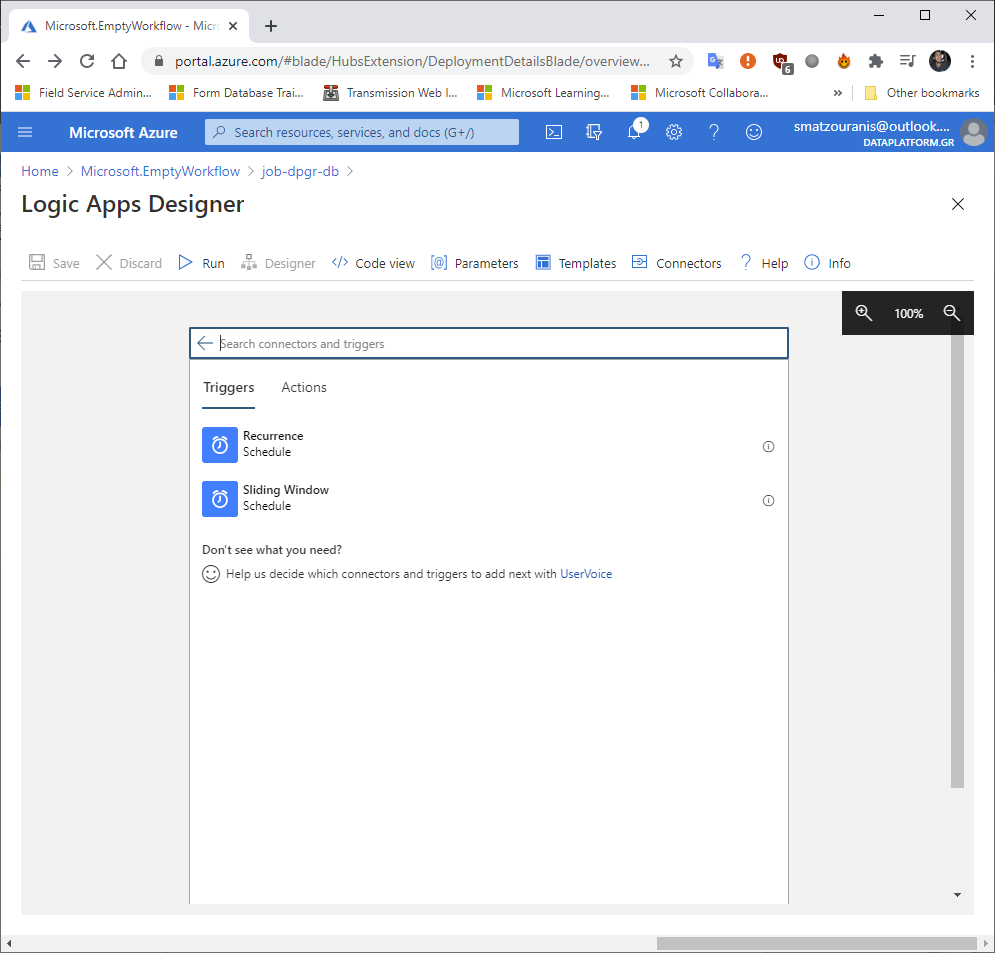
In the tab All we find it Schedule.
In the case that we want if the task fails to try again after a while we will choose Sliding Window, if we want it to run the next time it is scheduled in case of failure, we choose Recurrence.
Here now we will choose Recurrence.
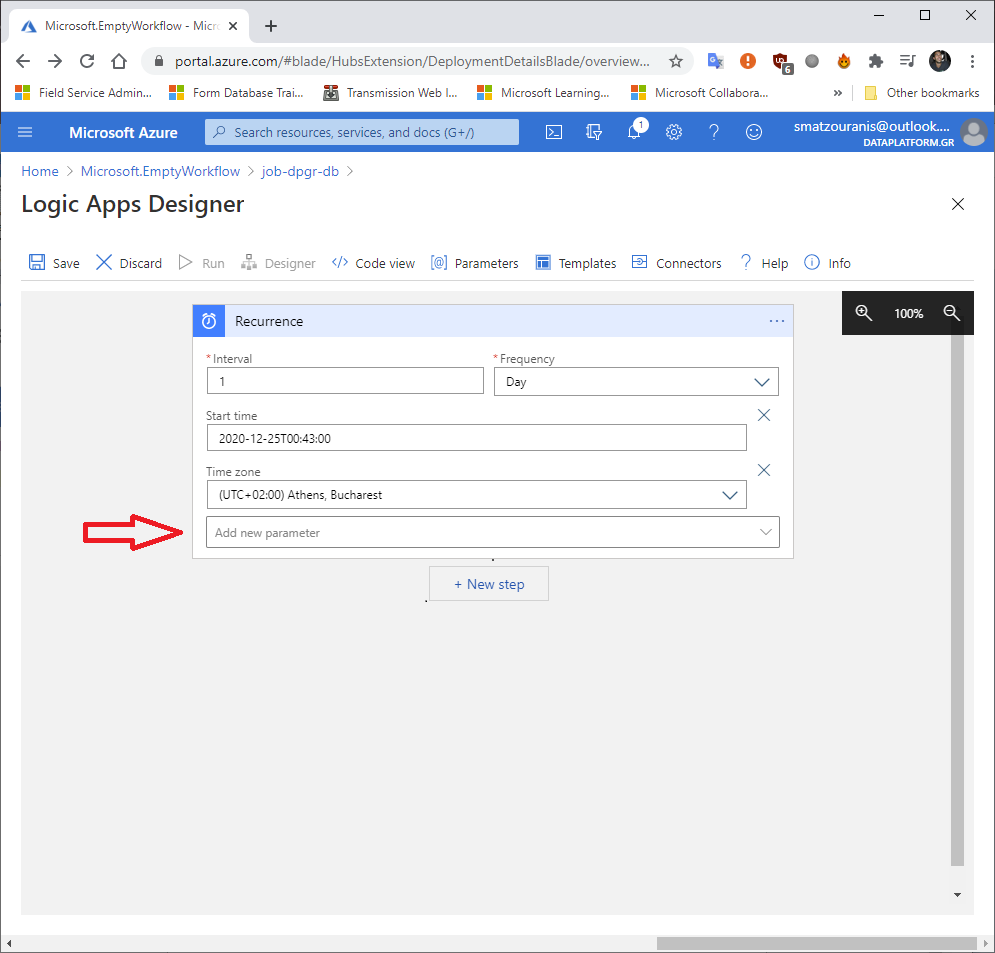
We choose Add new parameter so we can add it Start Time and Time zone.
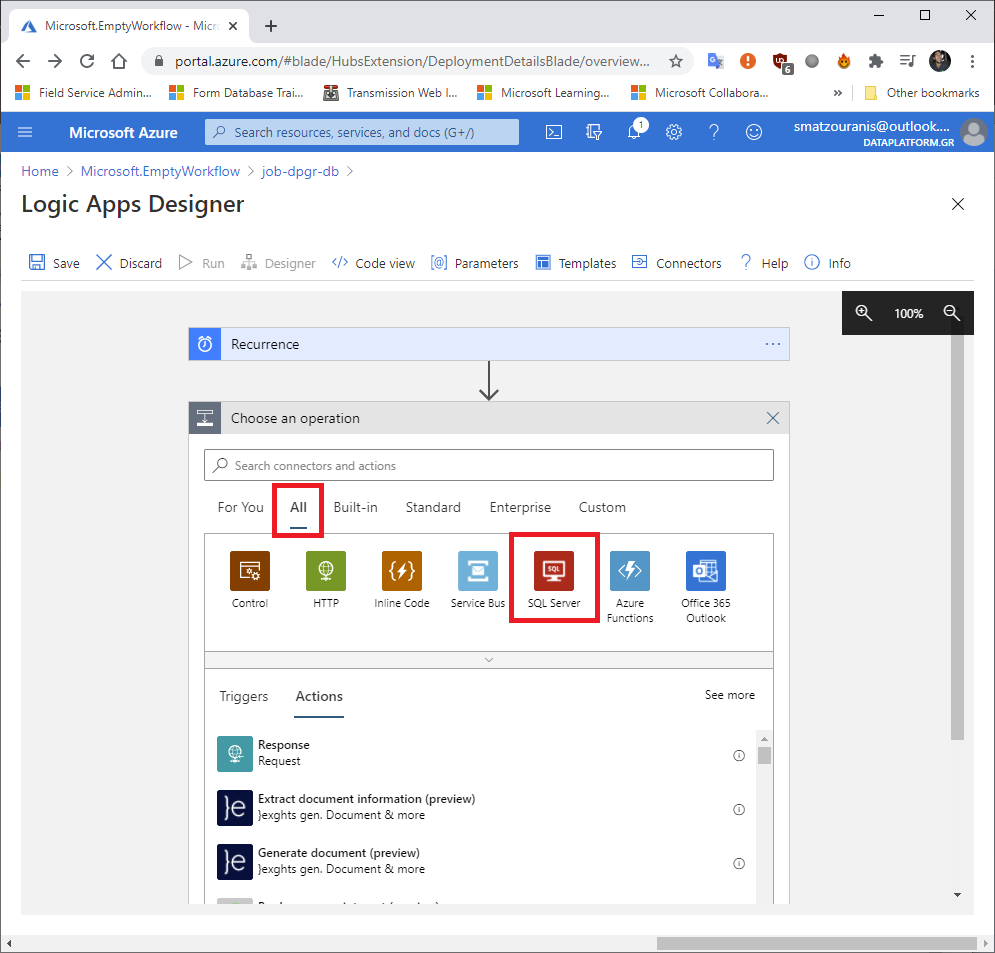
In the next step we go to the tab again All and we choose SQL Server.
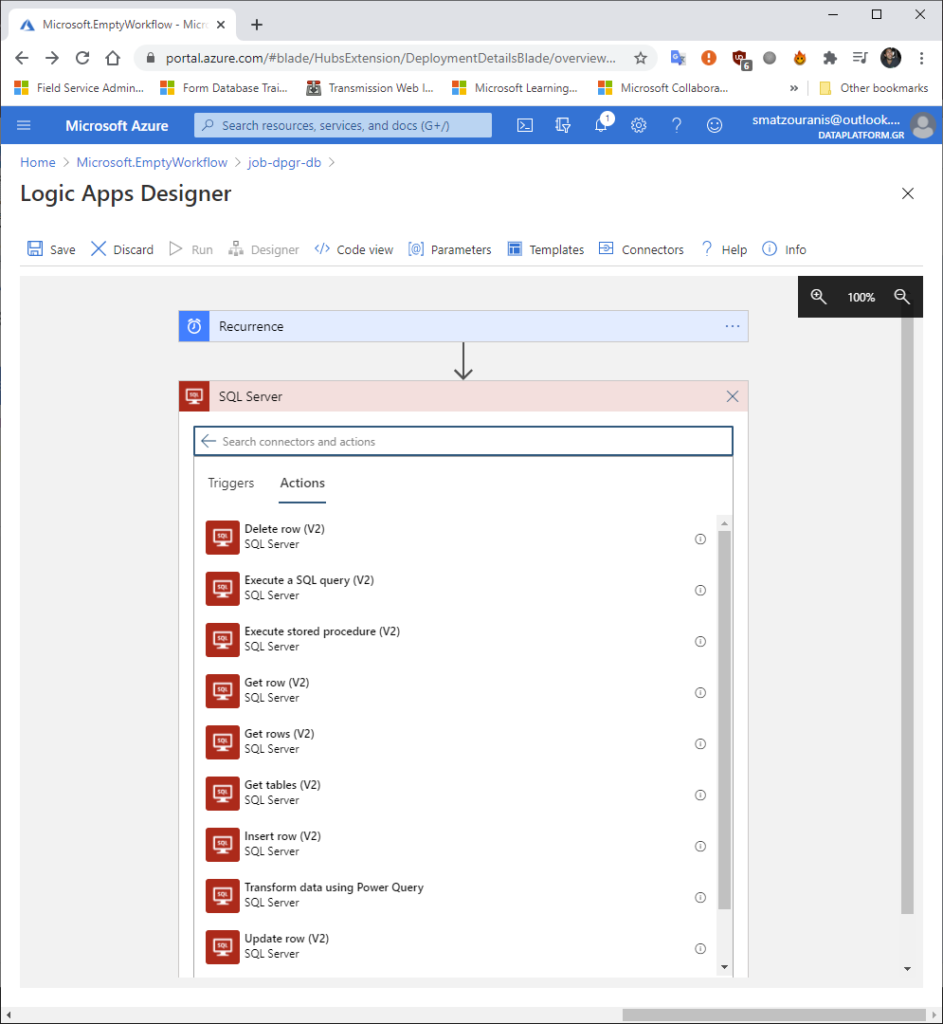
It will show us various things Actions, we want it Execute stored procedure (V2).
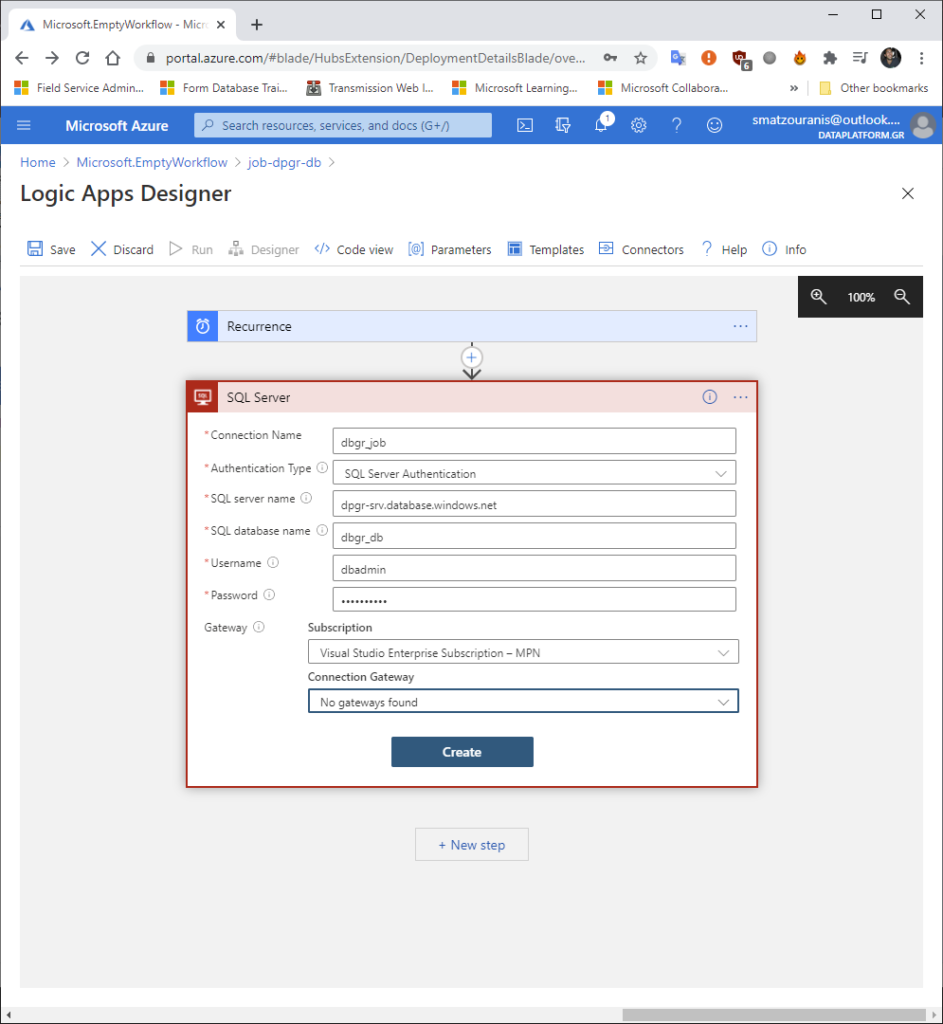
Then it will ask us to enter the information to connect to the database.
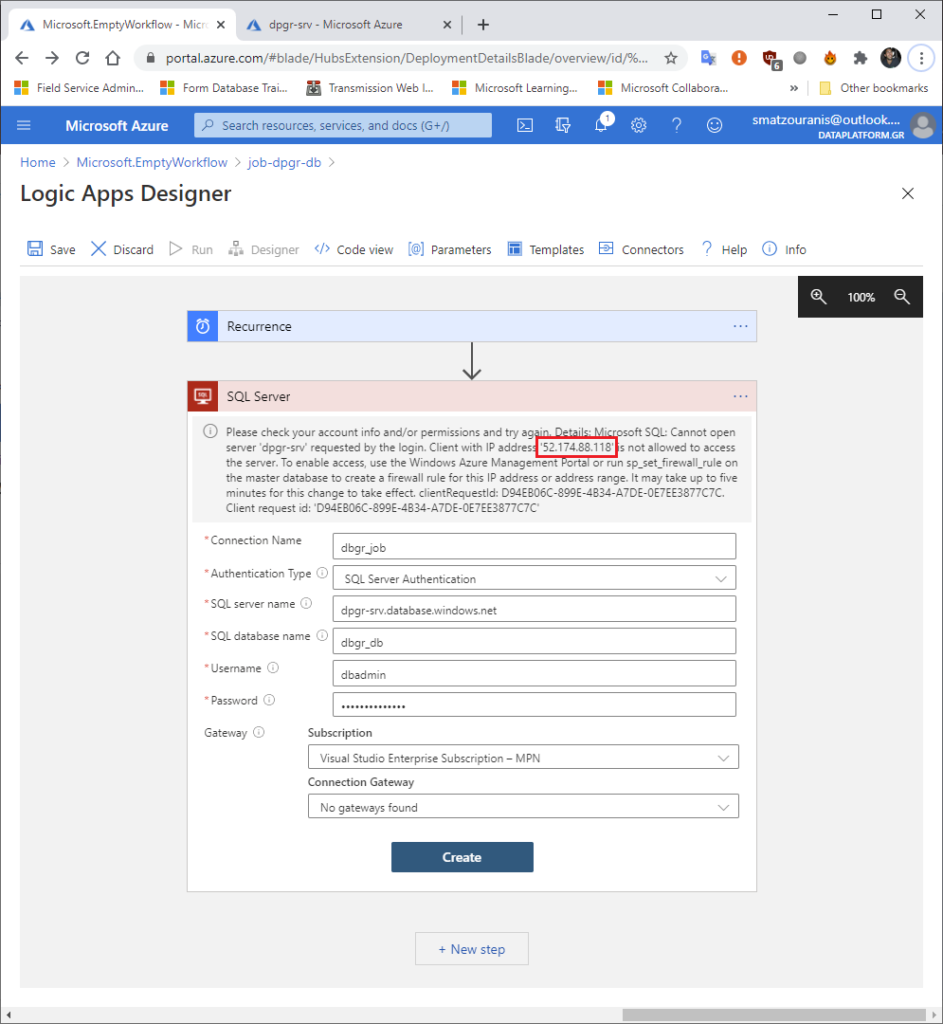
If we press it Create and it shows us this message, it means that we should add it IP of Logic App at Firewall exceptions of Azure SQL Database.
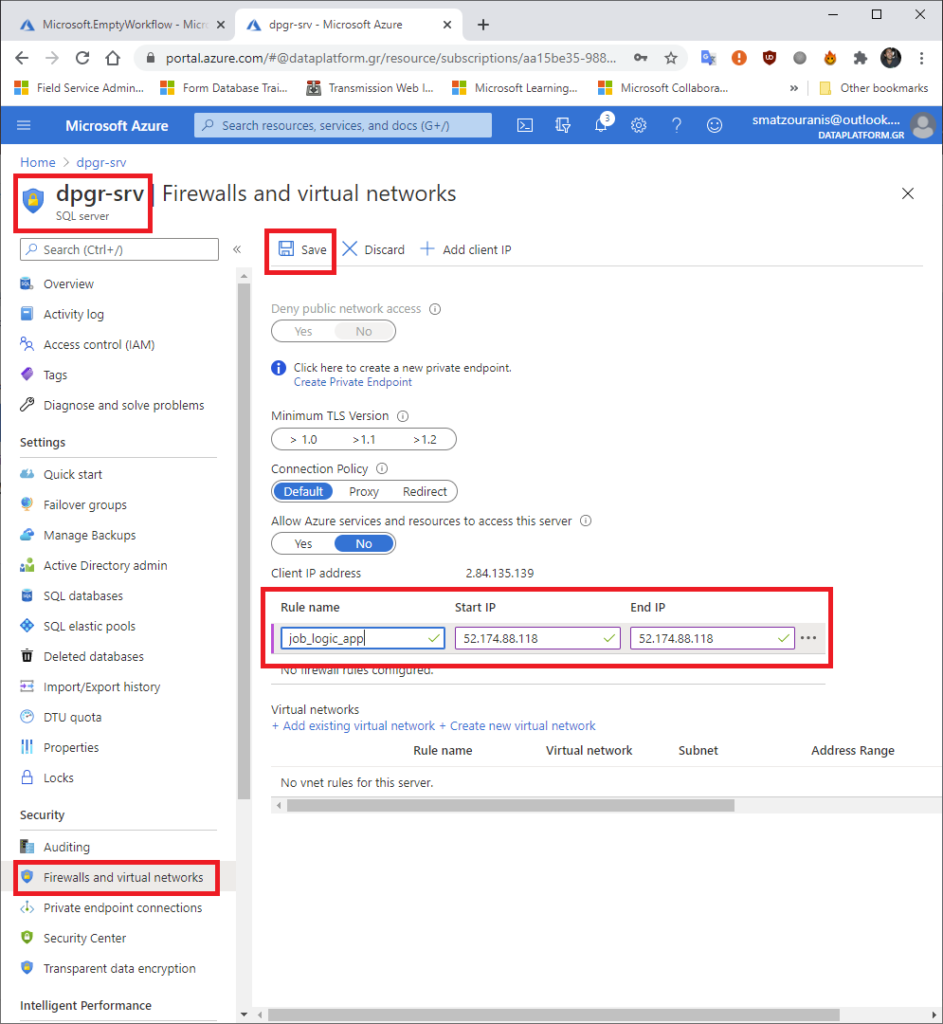
To do this, go to the logical Server of the base, Firewalls and virtual networks, Client IP address.
After it is added we will see that when we select it Create will proceed.
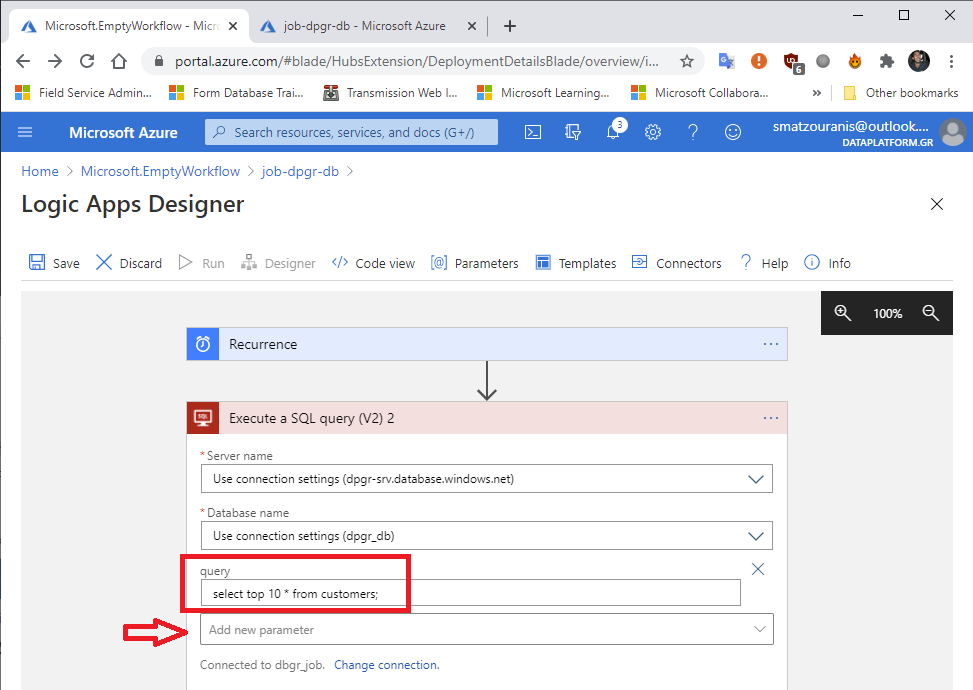
Then we select it Server name and Database name with what was created before.
We choose it Add new parameter so we add its parameter query.
In the query fill in the query that we want to run each time.
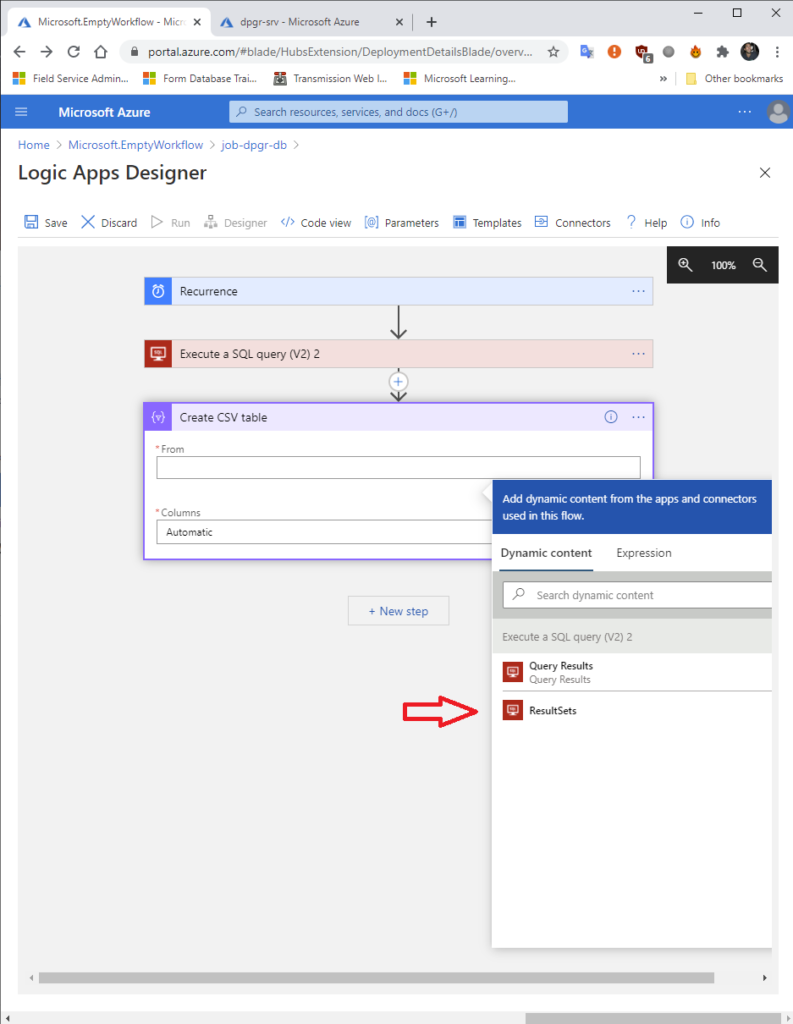
In the next step we want the results to be stored in a CSV so at New step we are looking in the tab All the Data Operations and from there the Action Create CSV table.
There we press on from and we choose it ResultSets.
At this point we will look into the New step the Gmail, there we will select it Action Send email (V2).
Gmail will then ask us with an API pop-up for the details of the email that will be the sender in order to give access to the Logic App.
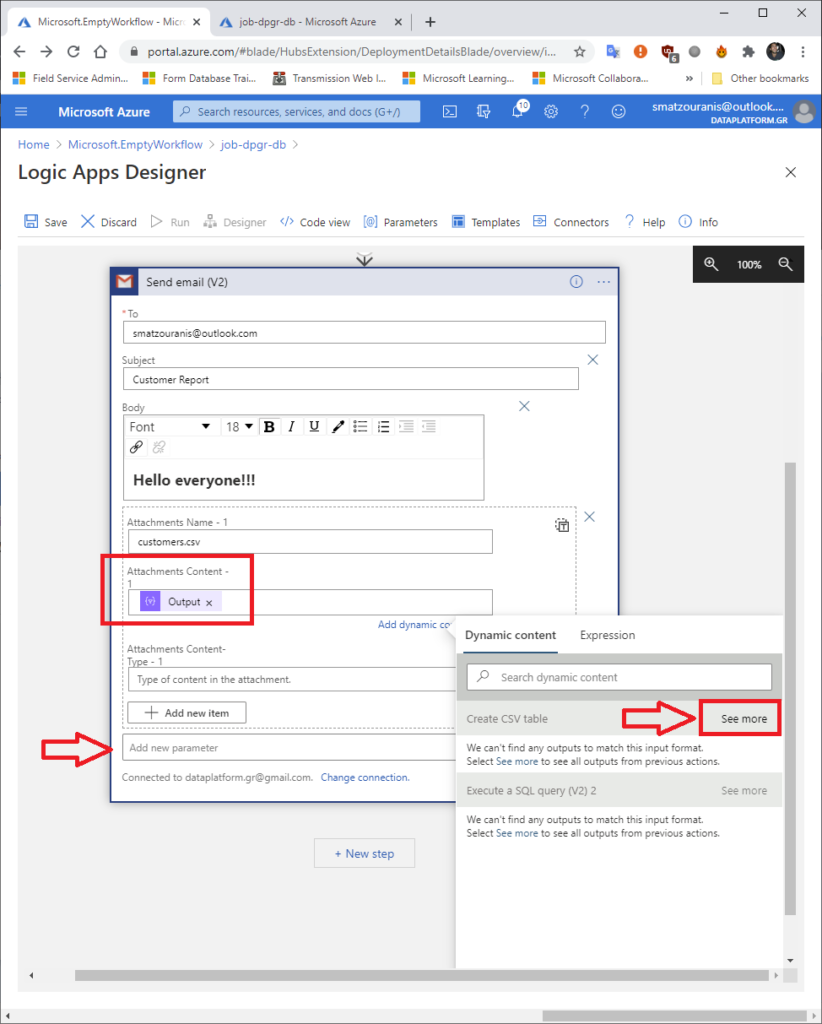
After we connect and it leads us to Send email (V2) we should go to Add new parameter and to add Attachments, Subject and Body. To add the attachment we should press it add dynamic content in the Attachments Content , see more, Output.
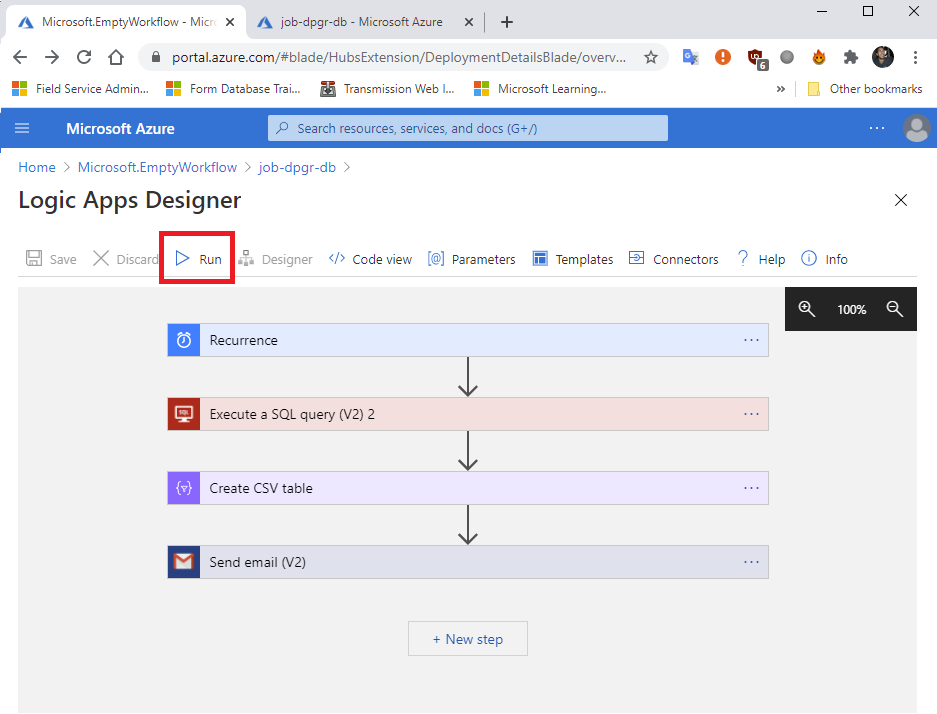
Now we can test the application by selecting Run.
(don't forget to save it)
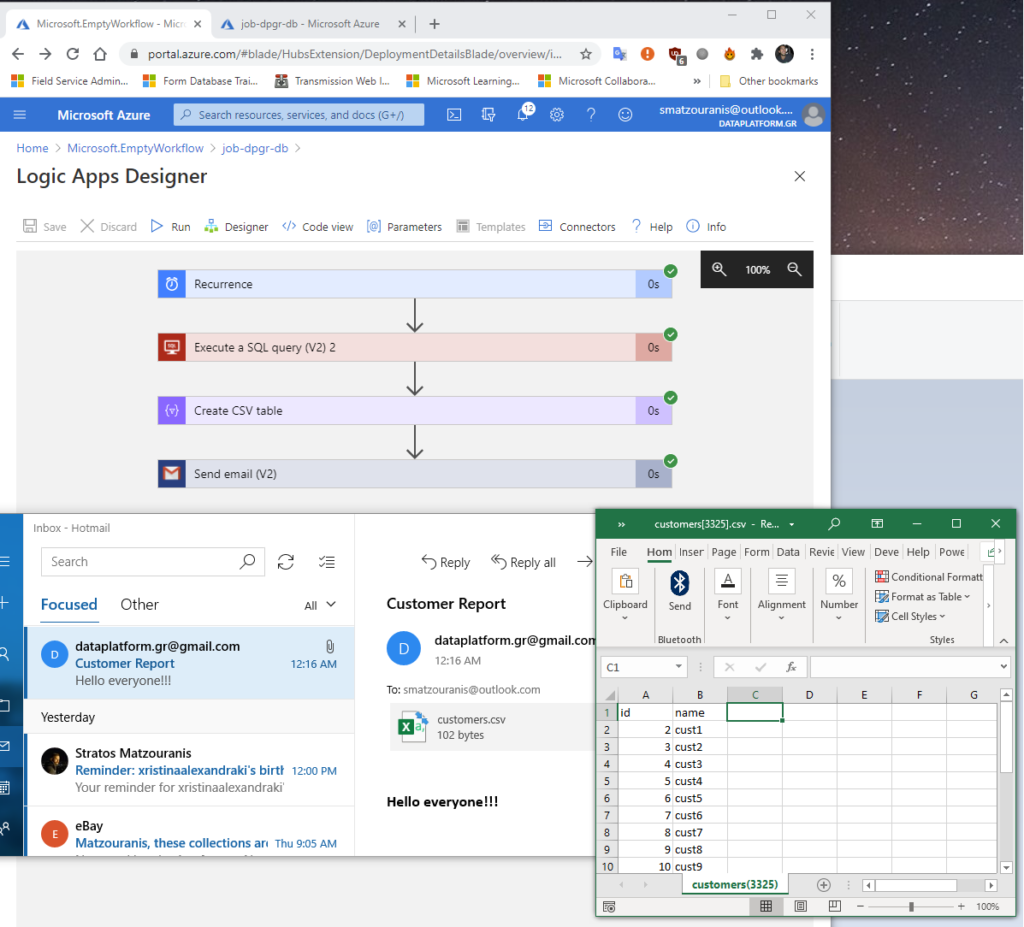
we will immediately see an email containing the attachment from the database query.
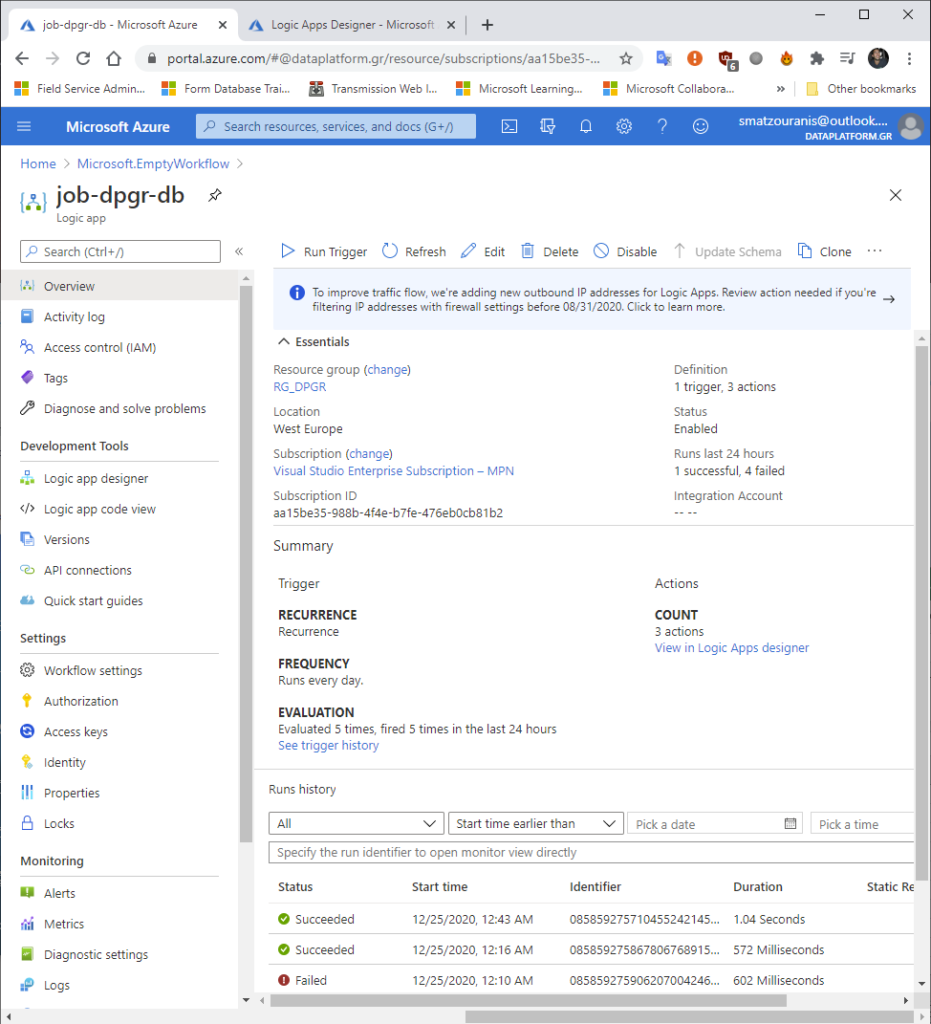
In the Overview of the Logic App we can see general information such as when it will run and the history of its executions.
